

Banana Maple Walnut Ice cream WITHOUT An Icecream Maker OR Refined Sugar!
Disclaimer: In the name of full transparency, please be aware that this blog post contains affiliate links for products that I think would be very beneficial for some people, and any purchases made through such links may result in a small commission for me (at no extra cost for you).
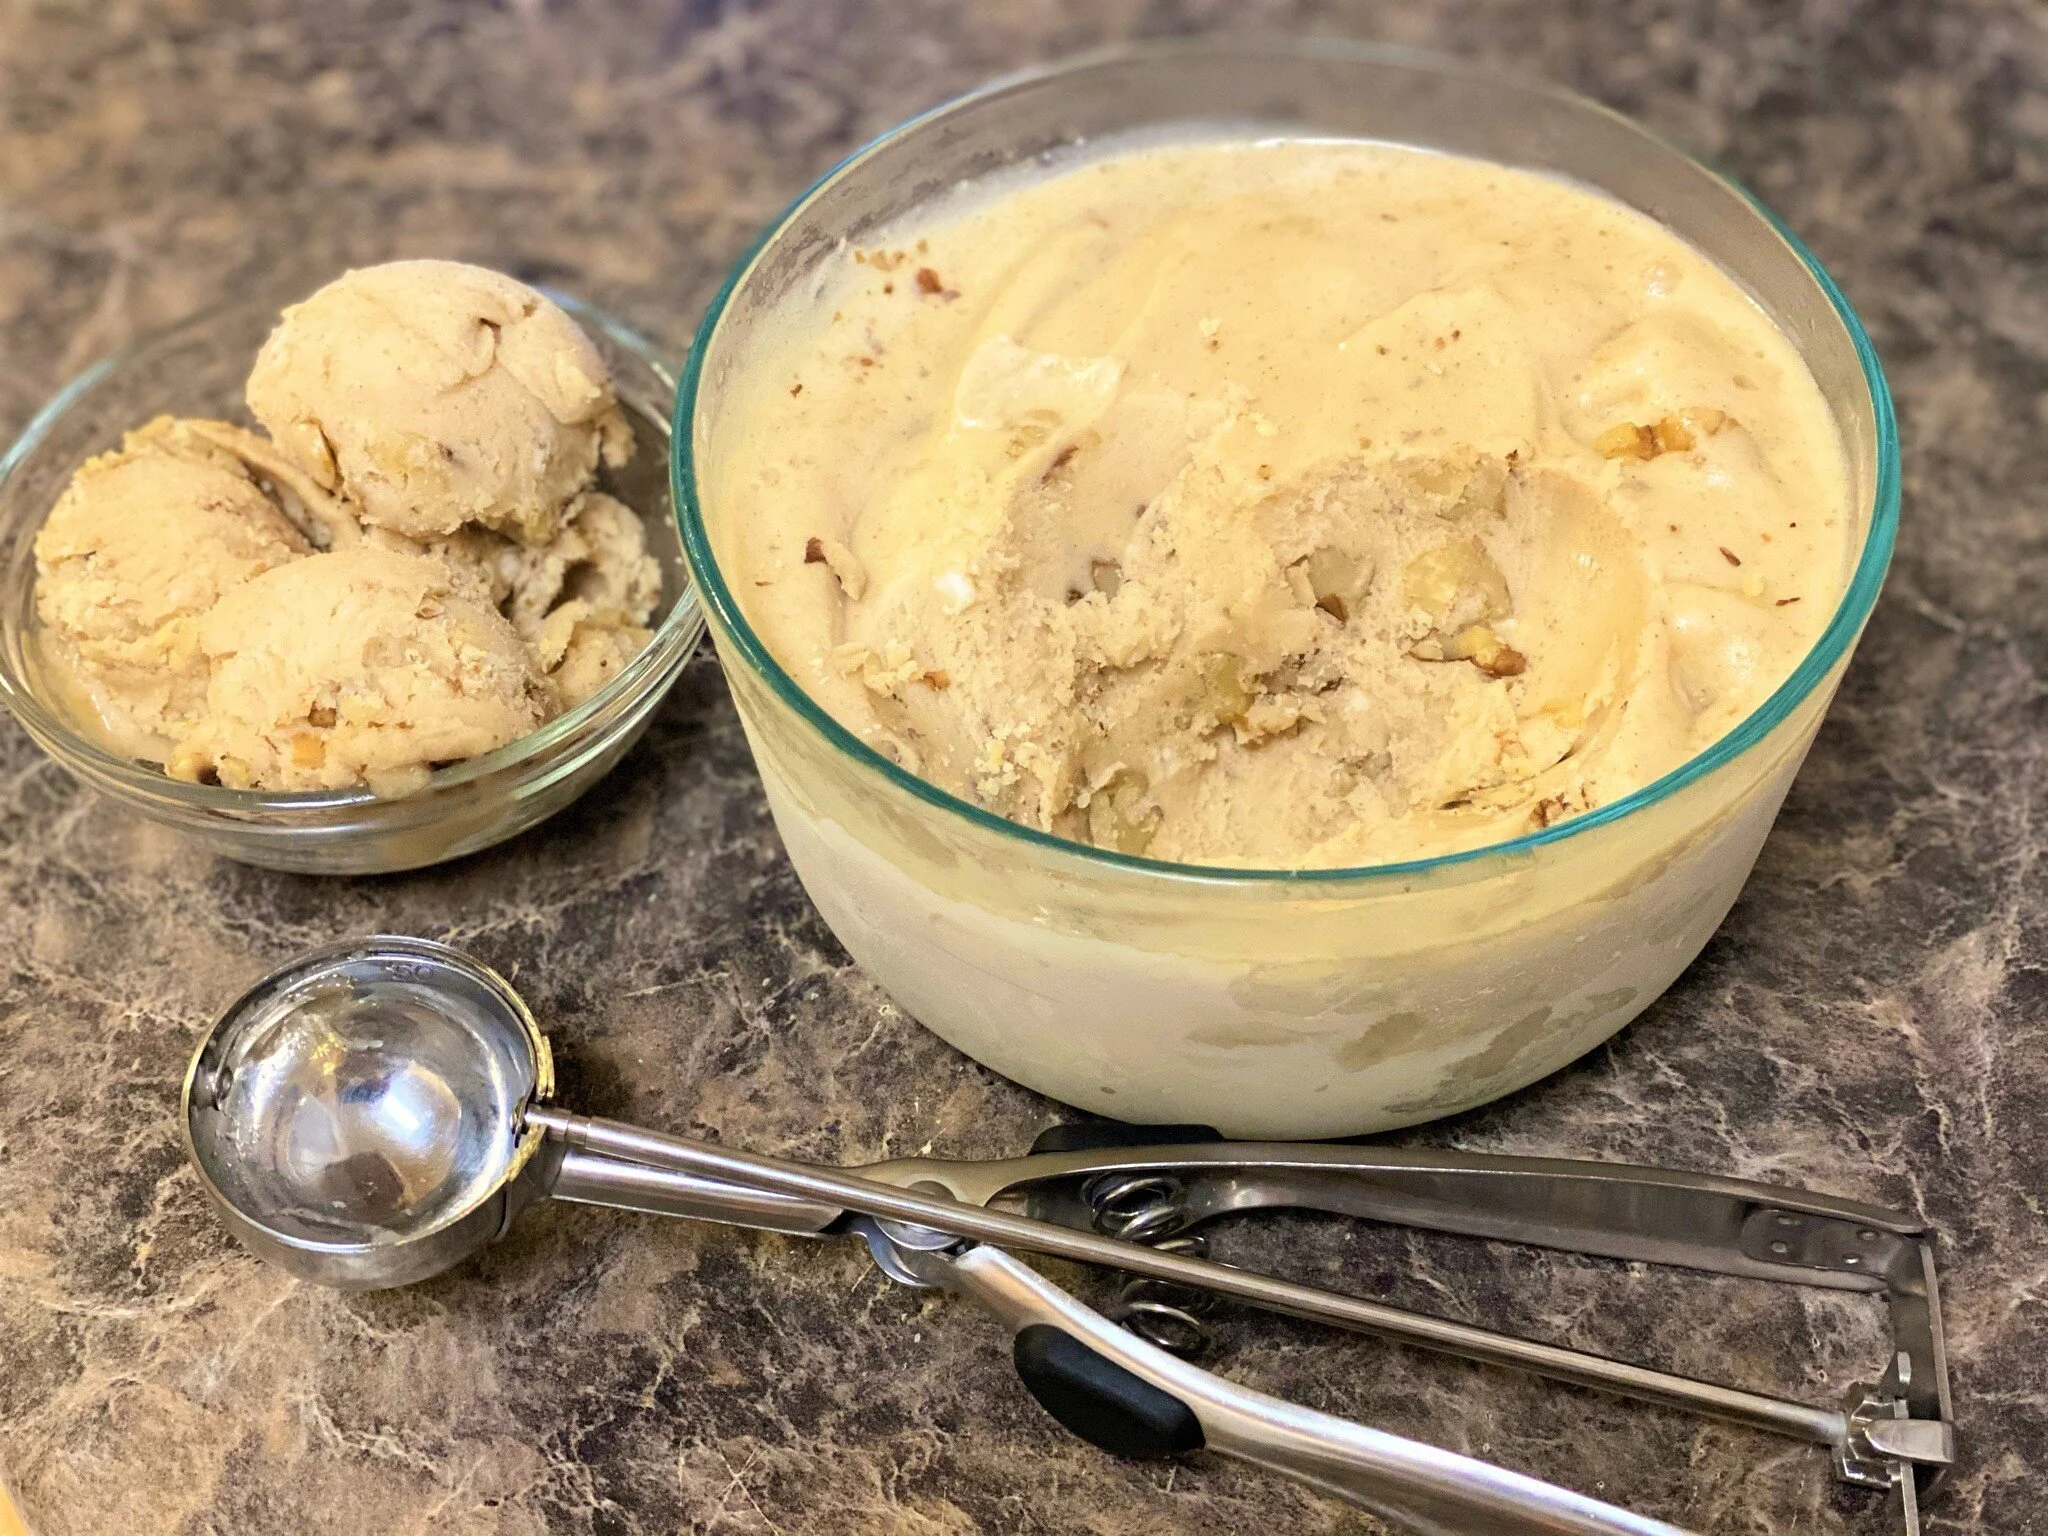
Alrighty! Maple walnut ice cream made a little bit healthier, meaning, without the refined sugar and all of the fat that doesn’t come from walnuts!
I made this recipe because a follower on Instagram said that maple walnut ice cream was their favorite, and so I told them that I’d make a healthier recipe with bananas! (By the way, if you have recipe requests, then leave us a comment on Instagram and I will do my best to make a suitable recipe for you to enjoy! 😋)
Okay, so when it comes to ice cream, we all pretty much love it. However, when it comes to vegan ice cream especially, it can be pretty costly and super filled with refined sugar when you buy those tiny-sized pints from the store (which is pretty much the only size you’ll find vegan ice cream in the freezer section!)
So for today, I am showing you how to easily make banana maple walnut ice cream without an ice cream maker and instead with a food processor and frozen bananas! 💯
These are the ingredients that you will need:
3 regular-sized, very ripe bananas
1/3 cup + 2 TBSP Maple Syrup
2 packets of stevia (I use the Truvia brand)
1/4 tsp of cinnamon
1/4 tsp ground ginger powder
1/2 tsp vanilla
2 TBSP of vanilla-flavored plant milk
1/2 cup of walnuts

What you need to do:
First, you will need to freeze your bananas. Depending on your food processor, slice up your bananas into small chunks or smaller slices if your processor isn’t the best. In a large zippered bag, spread your banana slices in a single file and freeze them overnight or until they are completely frozen solid (Yet again, the exact time for this varies depending on how good your freezer is).
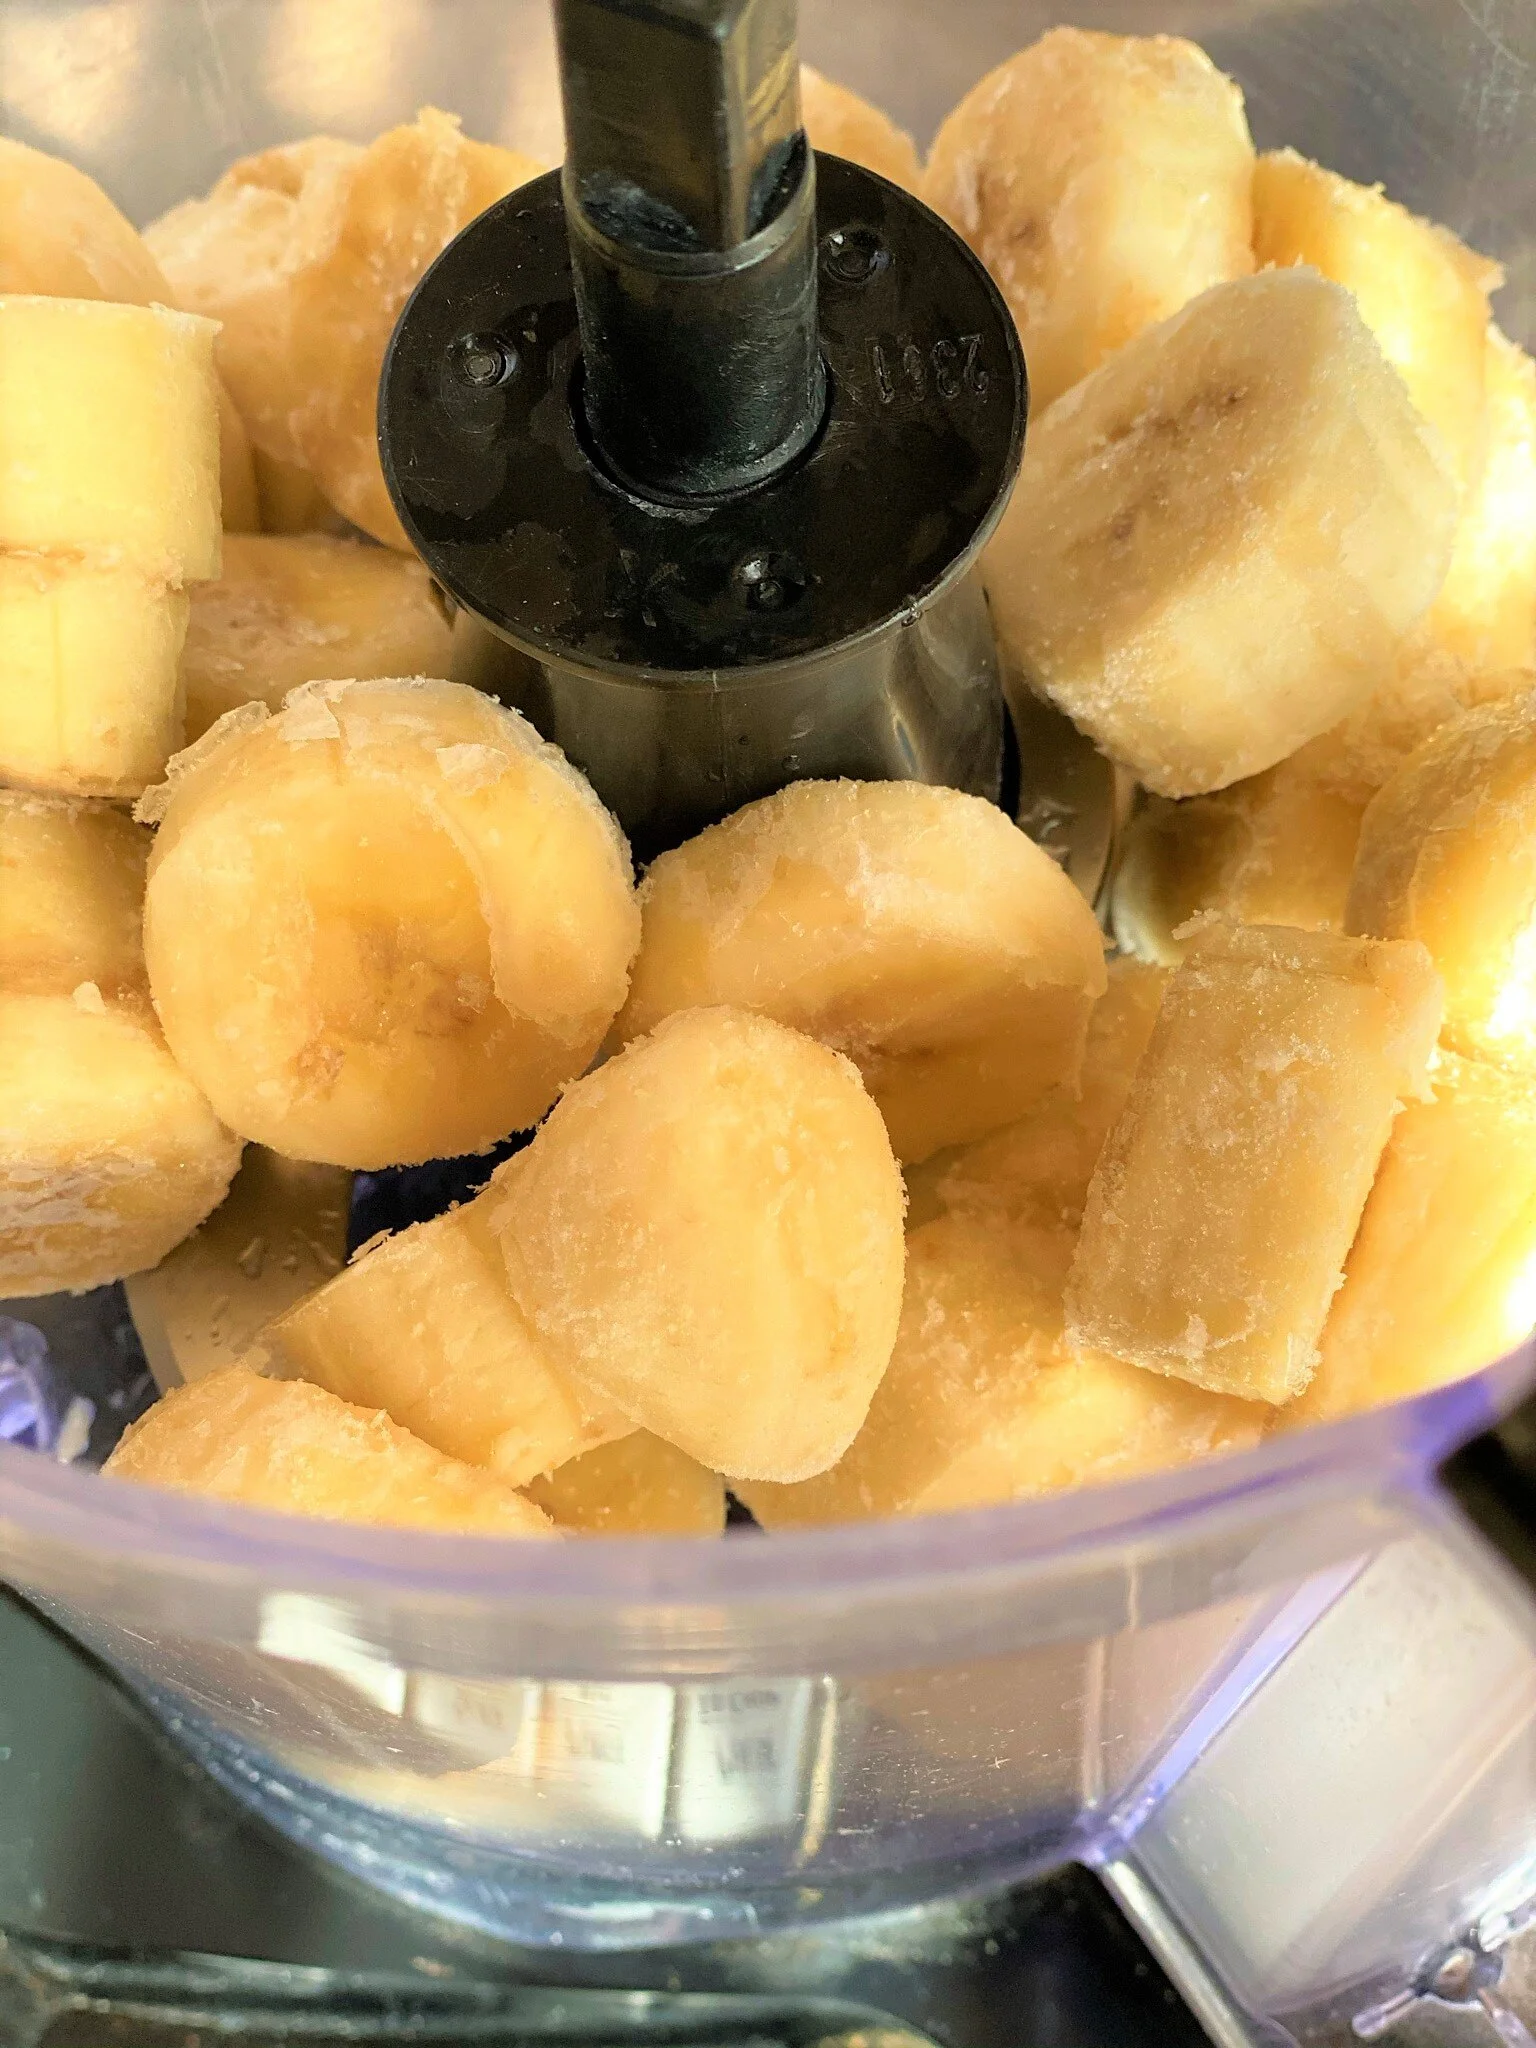
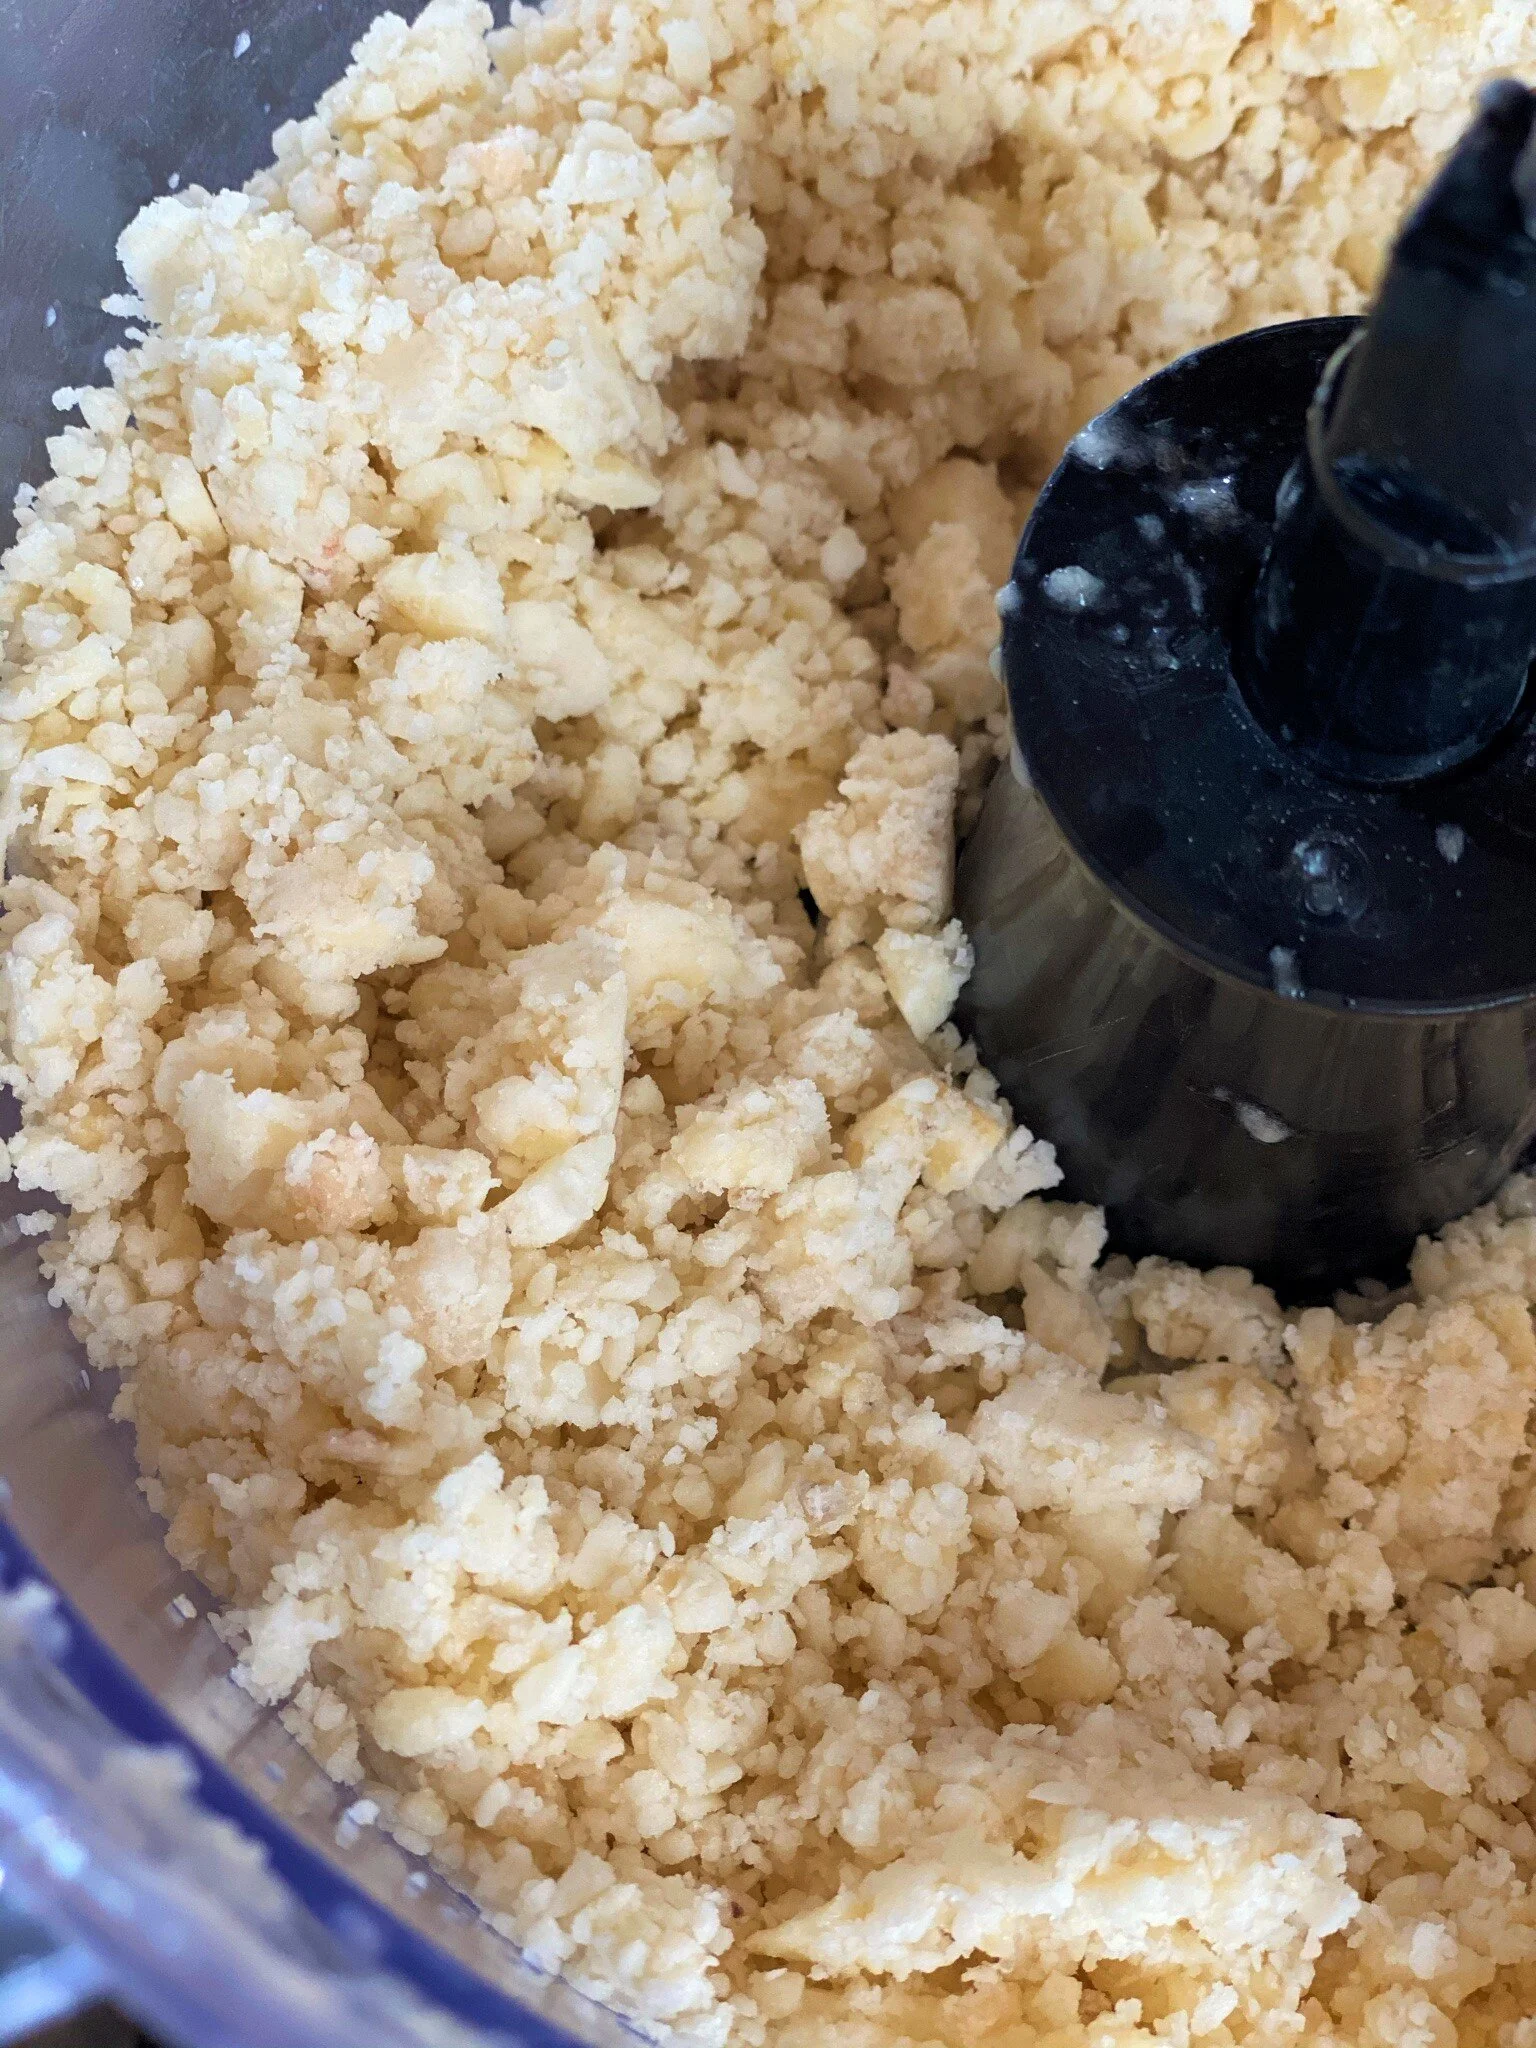
2. After your bananas are frozen, add them to your food processor and pulse them around 15-20 times until they look like tiny granular pieces of bananas (or a texture similar to cauliflower rice). Just a warning though, (depending on your processor) you will need to hold your food processor down at the beginning so that it doesn’t go jumping around everywhere due to the blades trying to grind down those frozen banana chunks. *Remember, the smaller banana pieces before you freeze them, the better!*
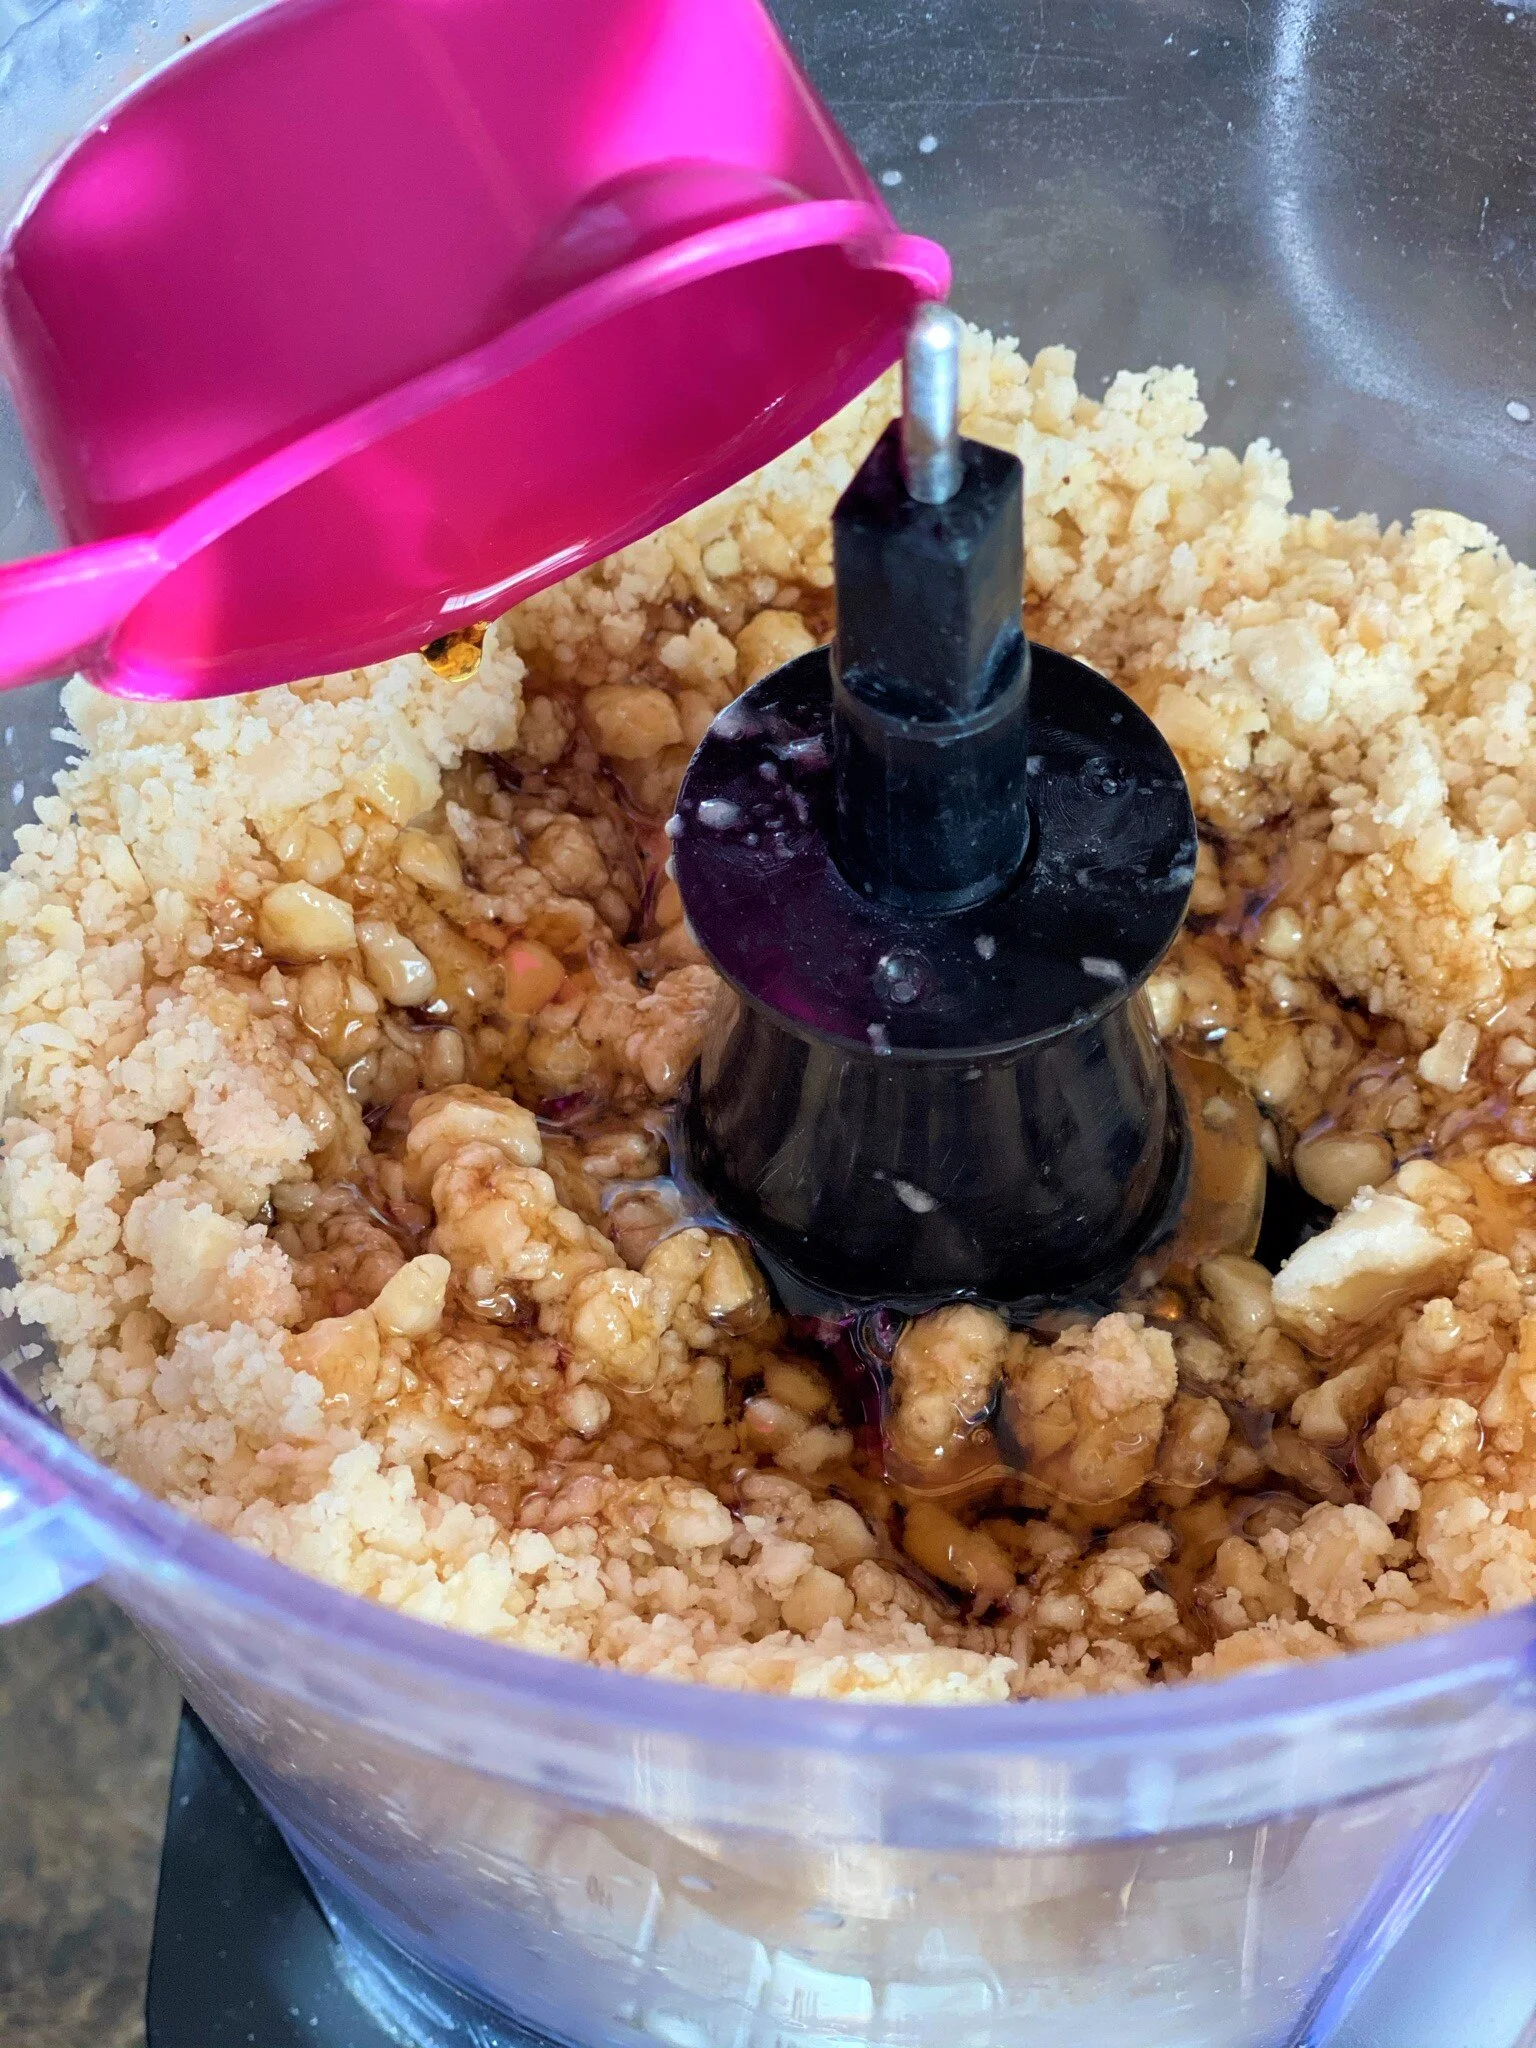
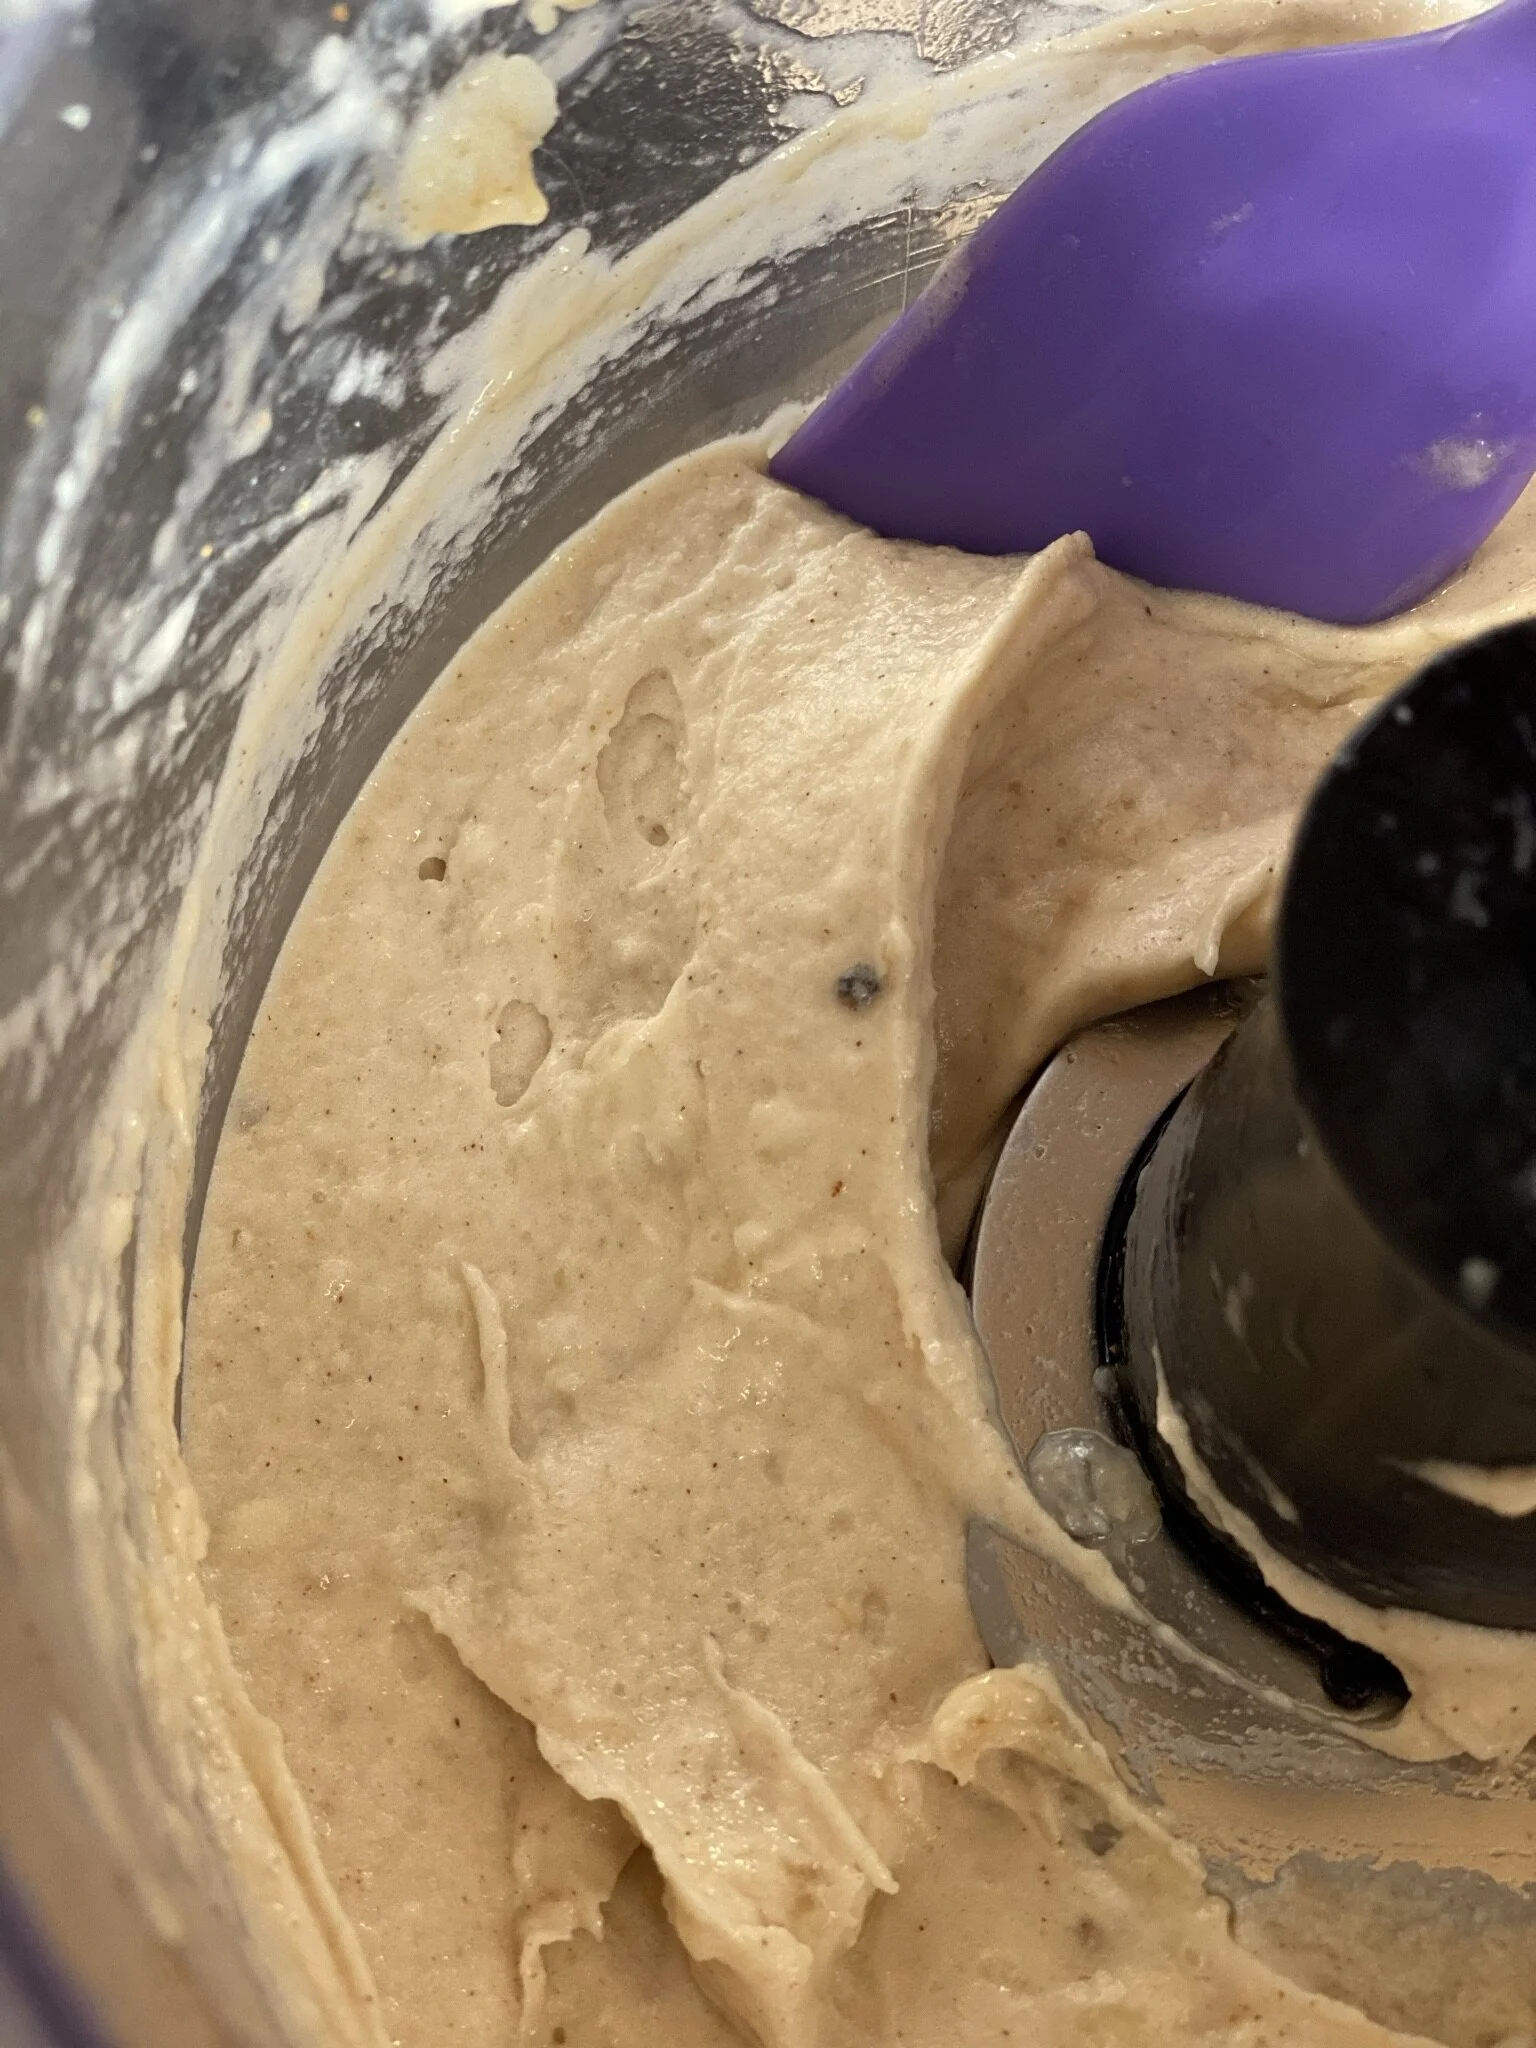
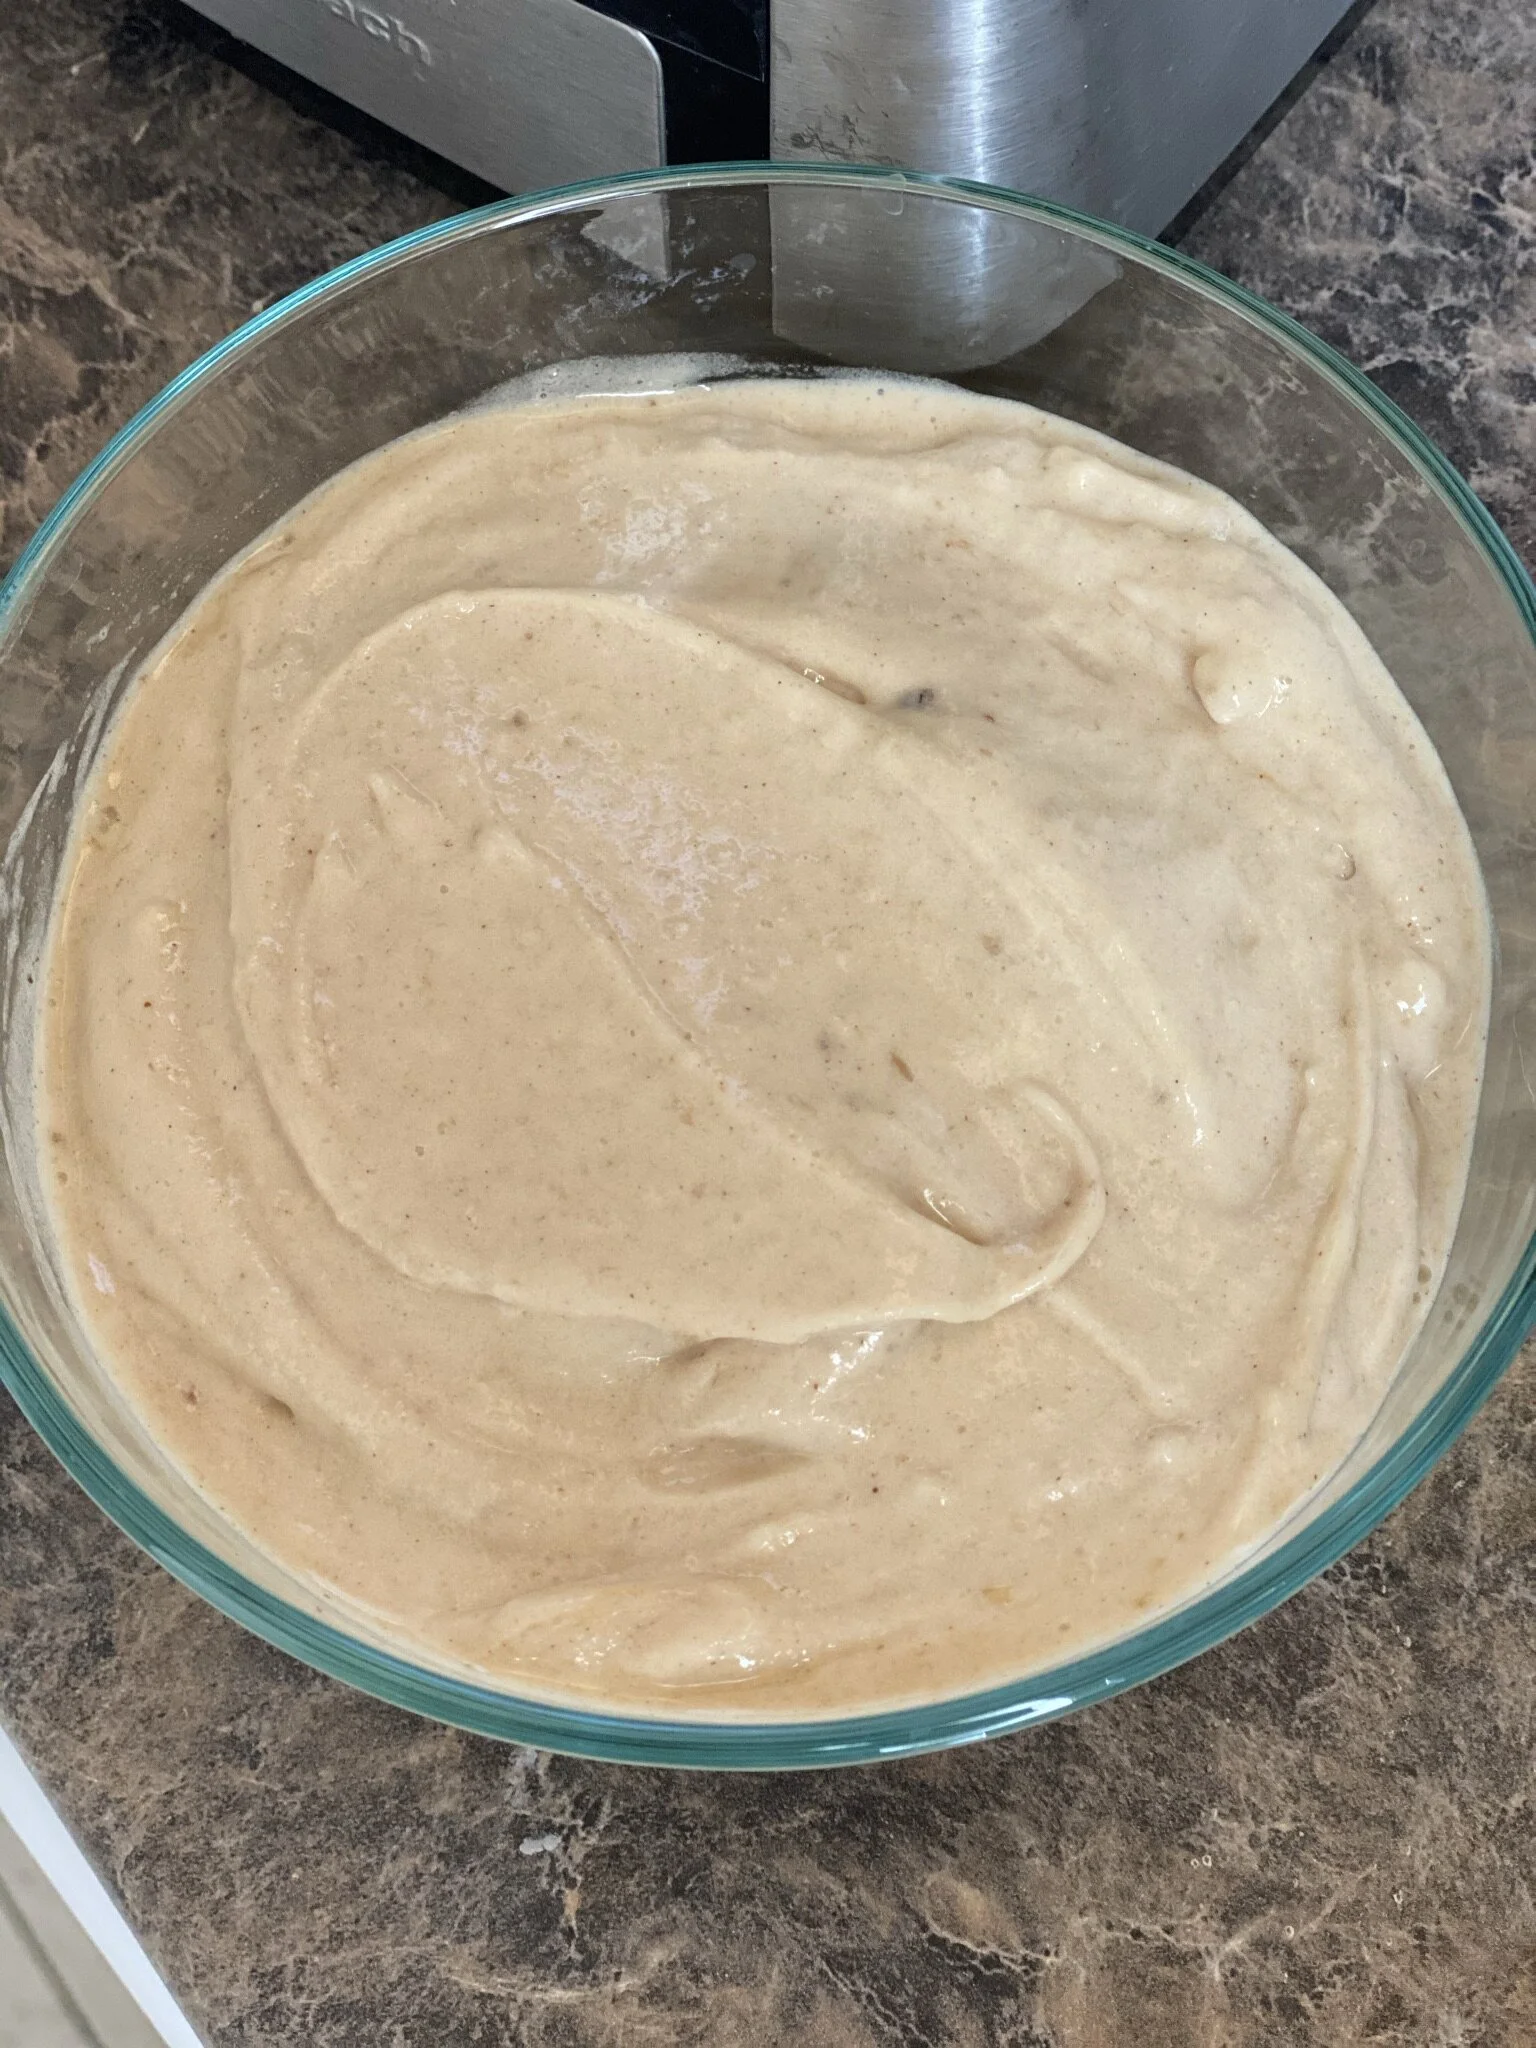
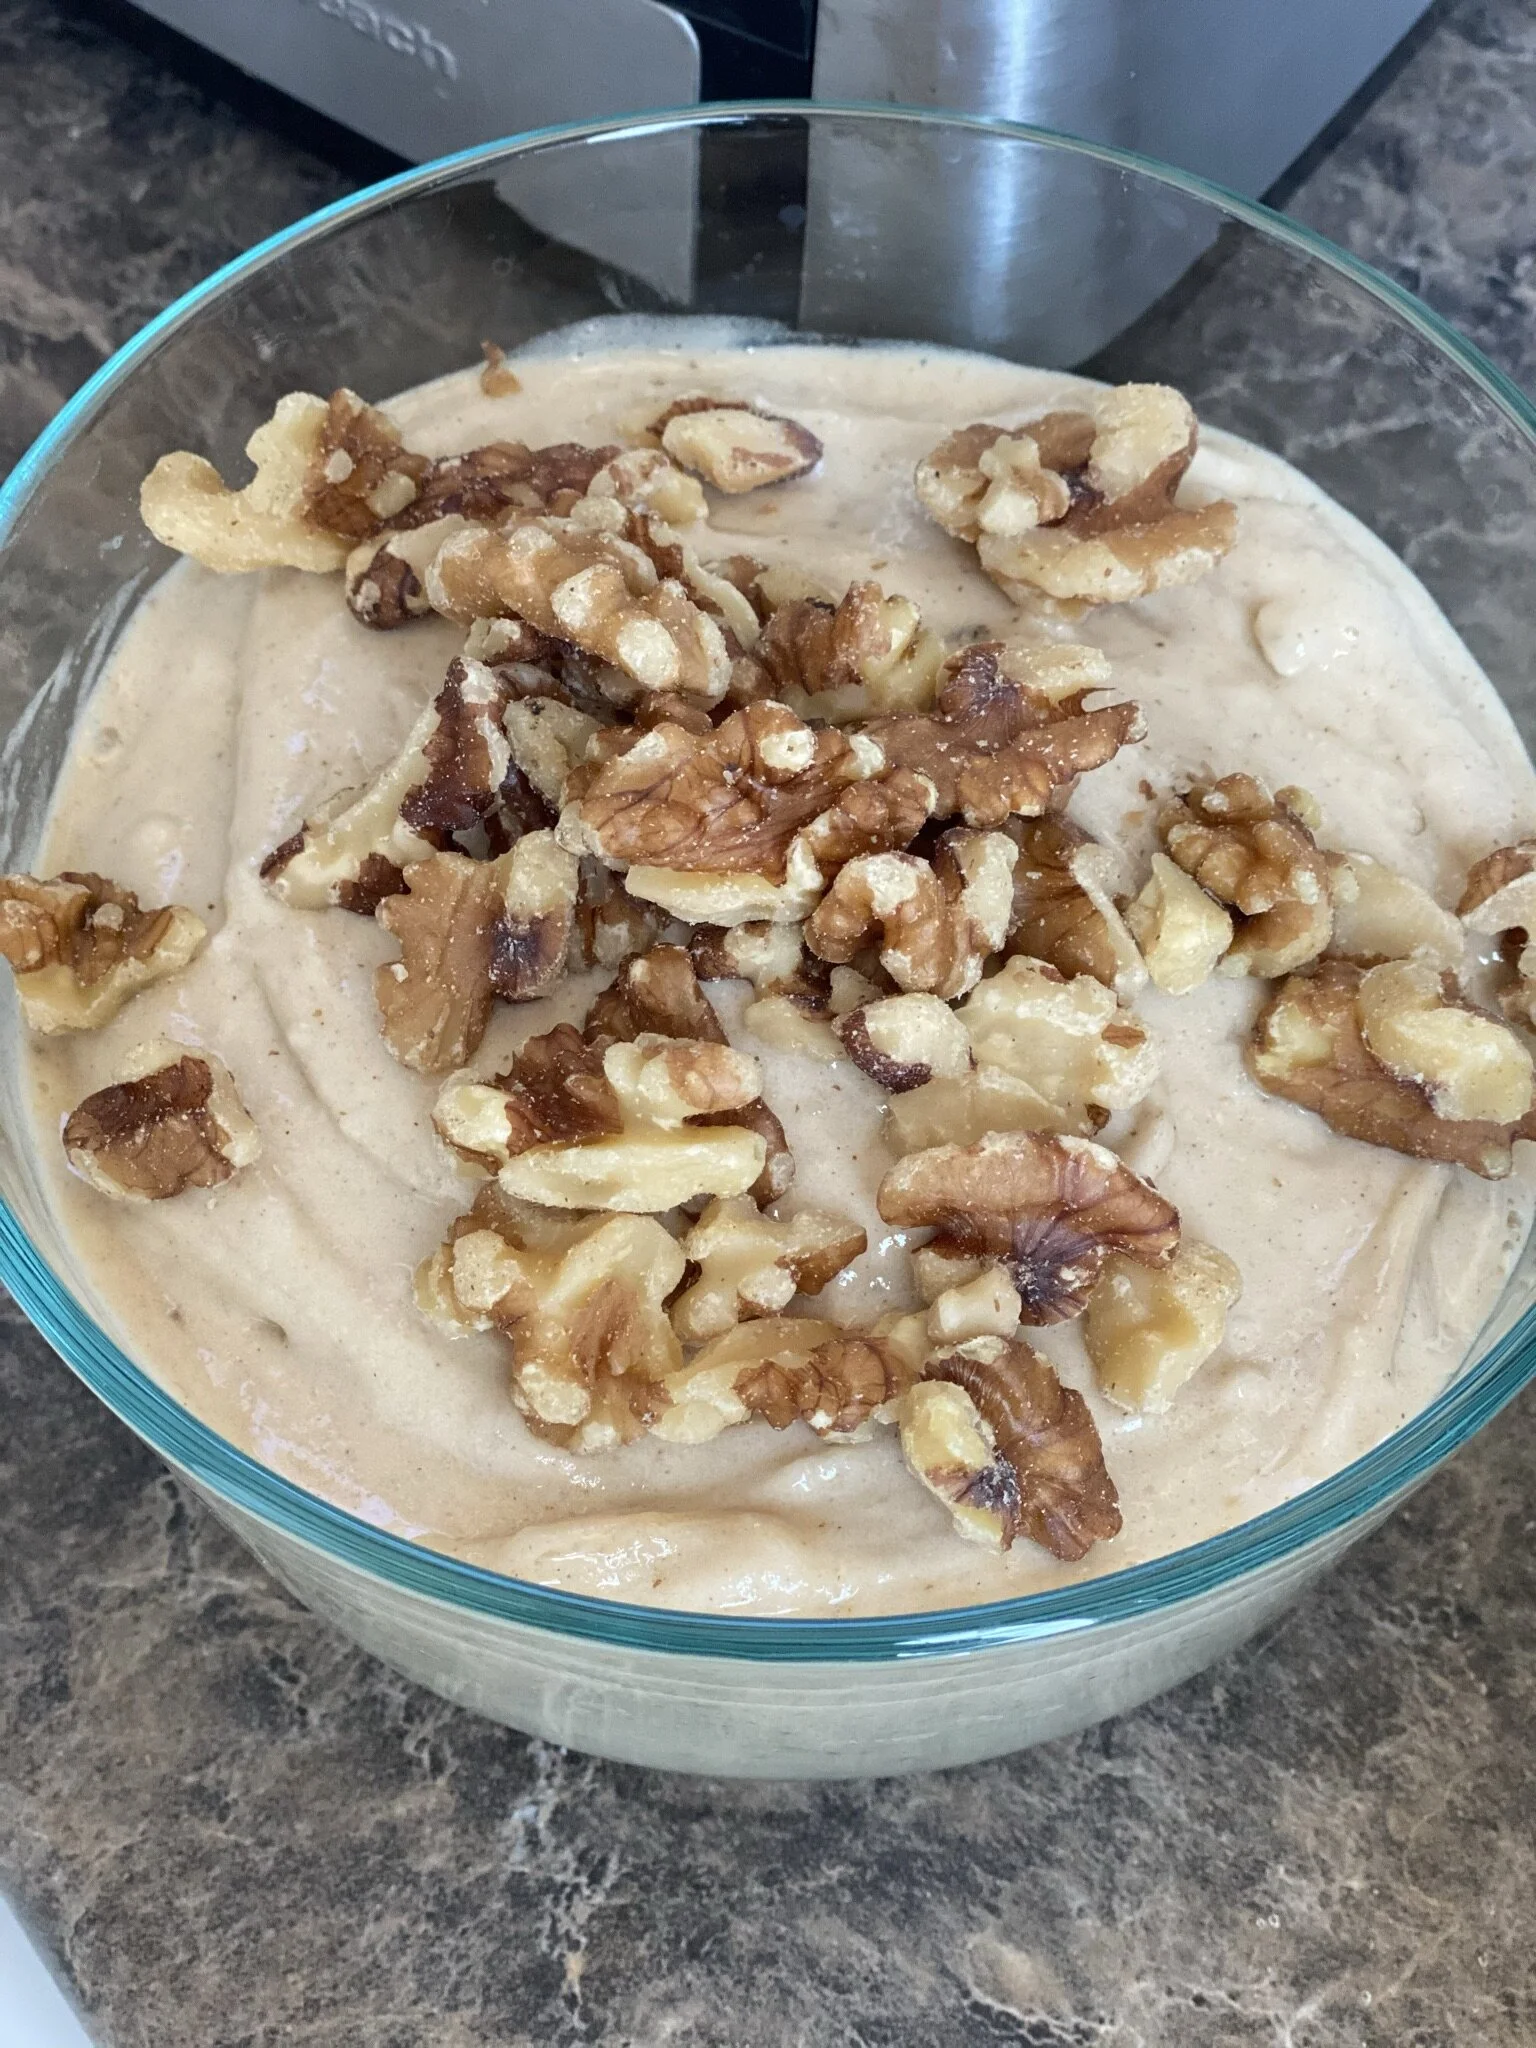
3. Then add in the rest of your ingredients minus the walnuts (those come at the very end). Process with the puree setting until your banana mixture is very smooth and creamy in texture, scraping down the sides with a rubber spatula when needed. Lastly, combine your walnuts and freeze the ice cream in a quart-sized container. *Best if eaten within a week after making.

Notes:
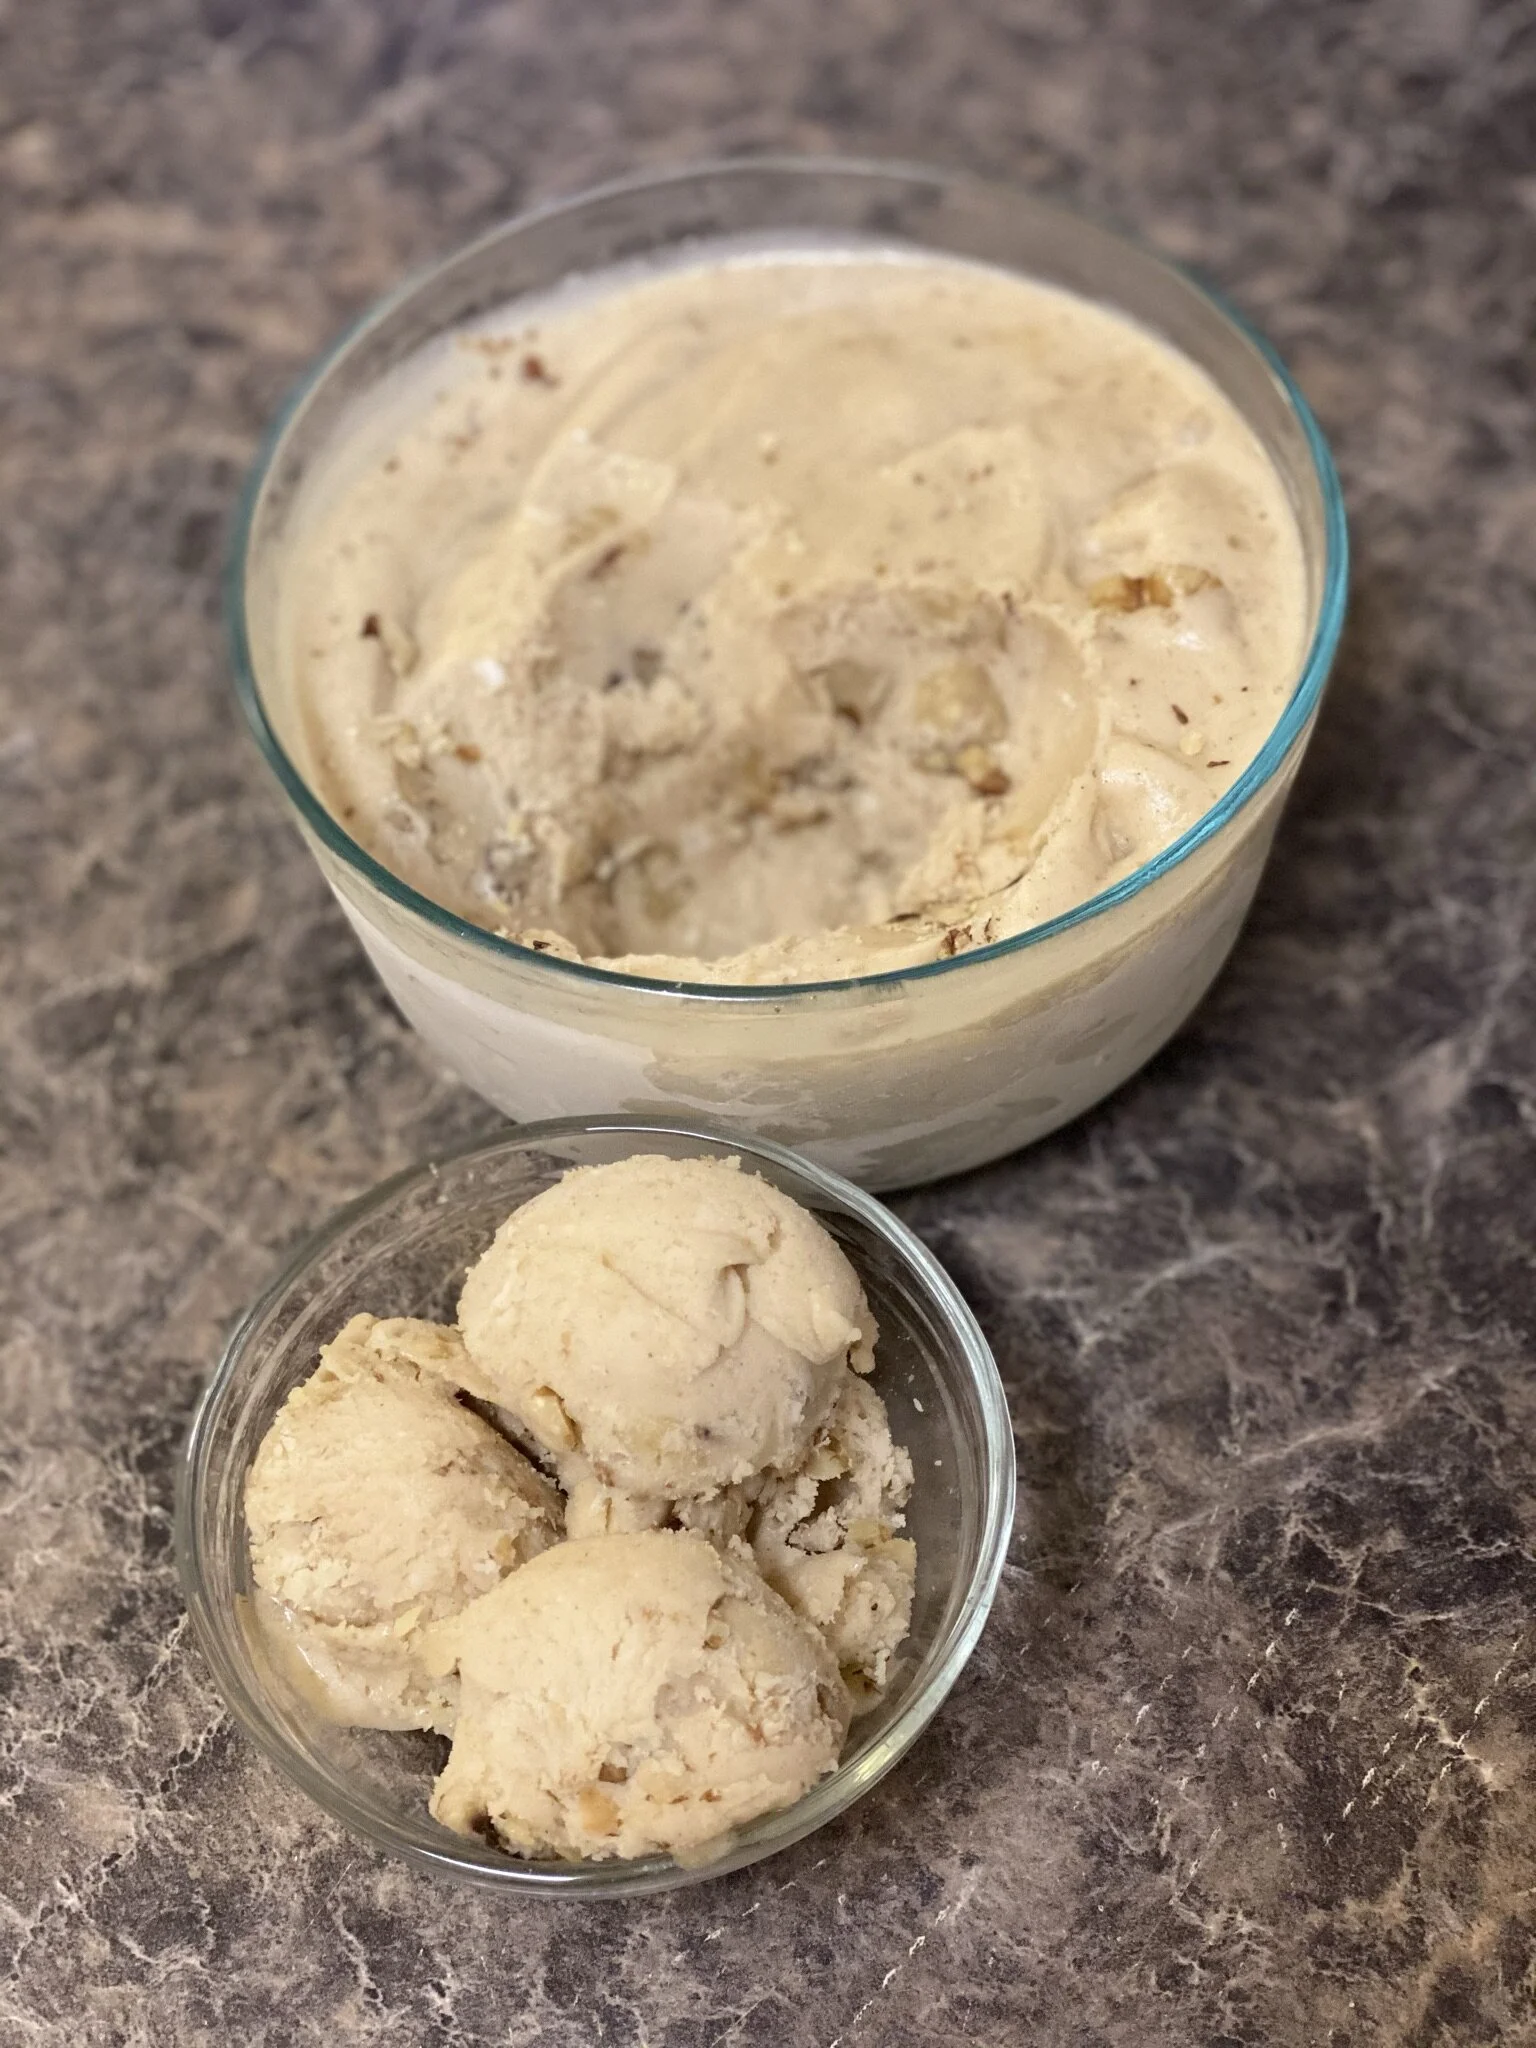
Unlike most other ‘nice-creams’ I've made, you can nicely scoop this one out of your container right after taking it out of the freezer if you run your ice cream scooper under hot water first. Normally, with other recipes, you would need to defrost your container of icecream first for around 10-20 minutes before you can scoop the ice cream out due to the hard texture of the bananas after they freeze.
And that’s it! This one is very tasty and satisfying. Enjoy! What do you think? What should we make healthier or vegan next? Let us know on Instagram @everydayvegangourmet and if you’d like to try more of our recipes, then check out our RECIPE PAGE 😋💯😎
As always, have fun making every day a little bit more vegan gourmet!
XOXO, JulieRannaSaurus <3
